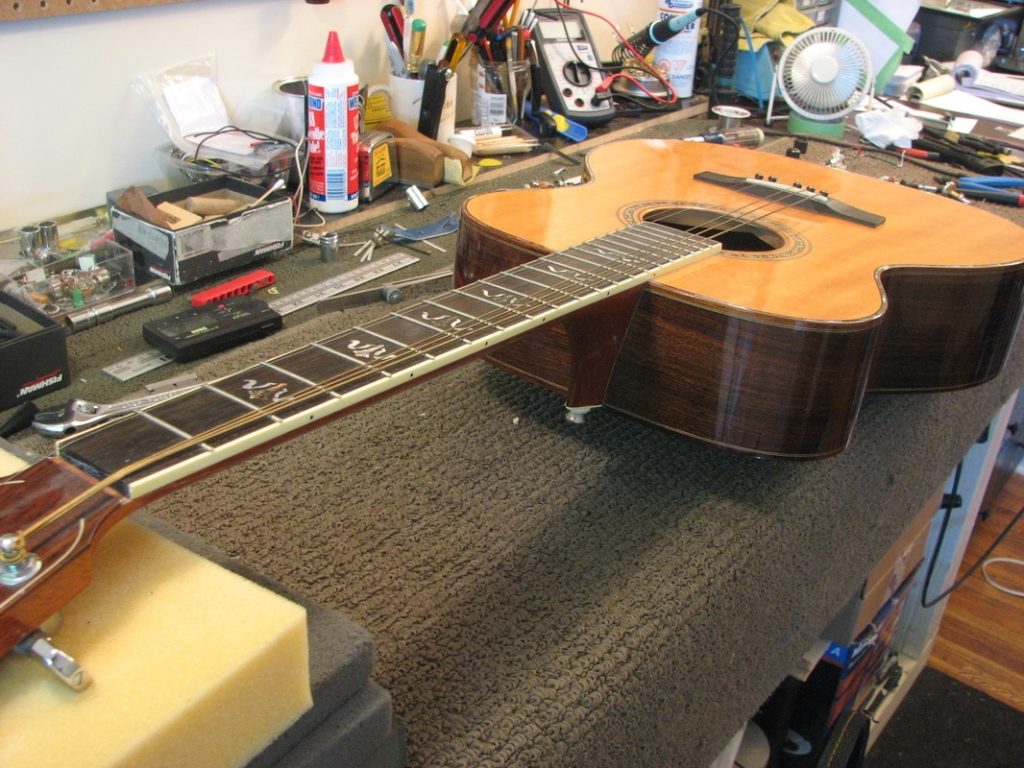
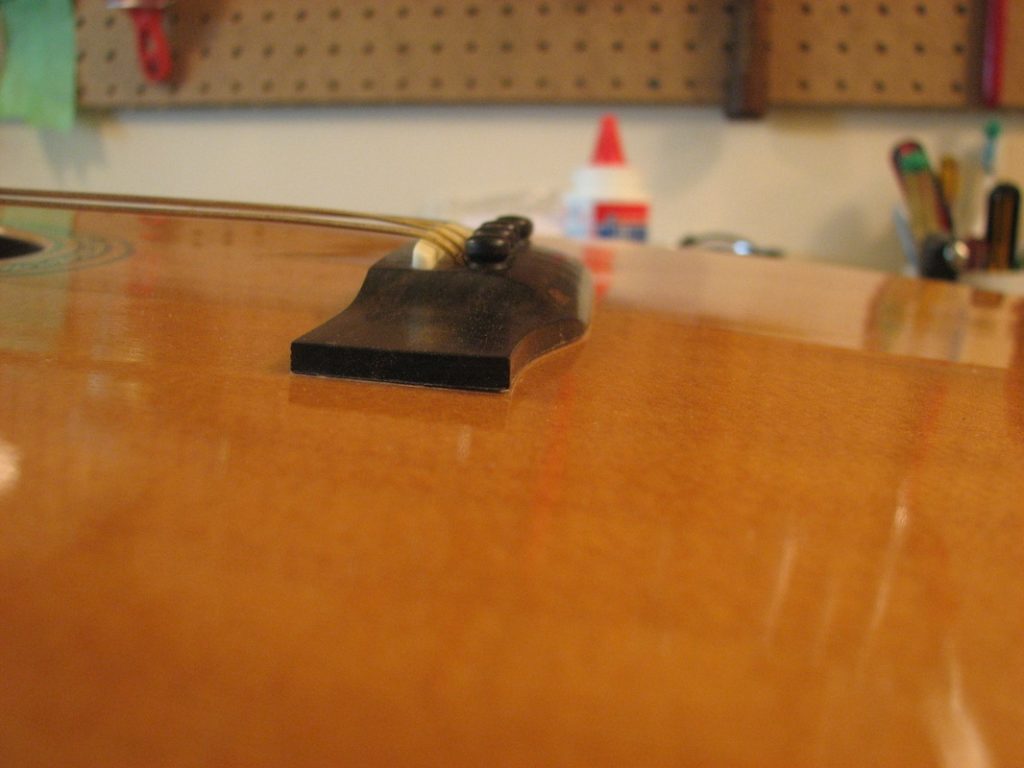
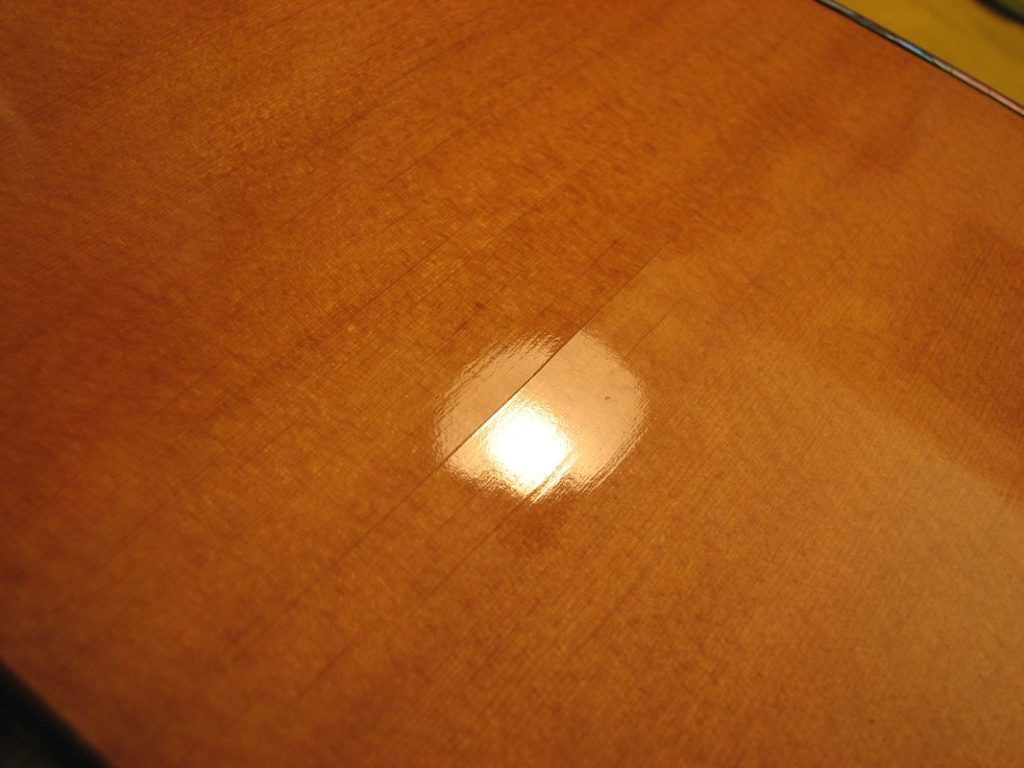
Another beautiful old “Victoria Label” Larrivee OM10 model arrived in the shop. This one sustained some shipping damage, which fractured the neck. It also had a couple of other issues: a split top and a lifting bridge.
That neck break looks nasty, but it shouldn’t be a problem to fix. Breaks will often fit right back together with minimal trouble or manipulation. Exceptions are when they are leftover too long a time and the environment affects the wood. If you can press the two pieces together, and they fit well, that’s precisely how it will glue together. When it’s not a perfect fit any longer, or there is excessive splintering, for example, you may need to approach it more methodically. This one isn’t too bad, but it wasn’t perfect. Regardless, a couple of clamps and some quality wood glue and that neck is back in business.
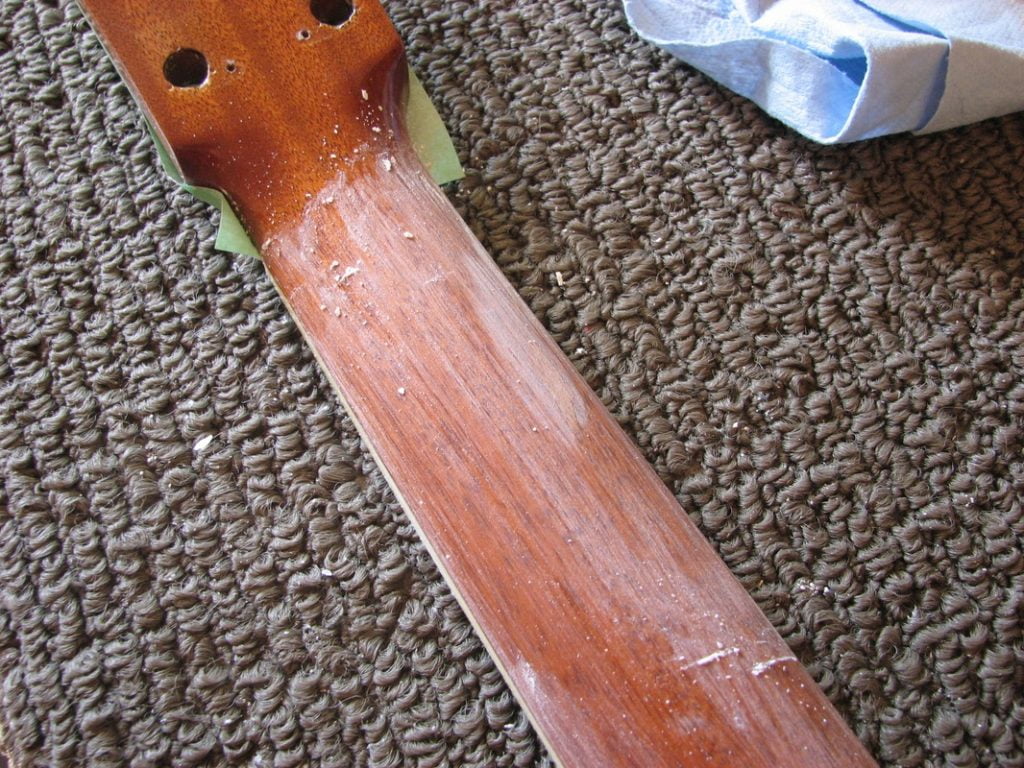
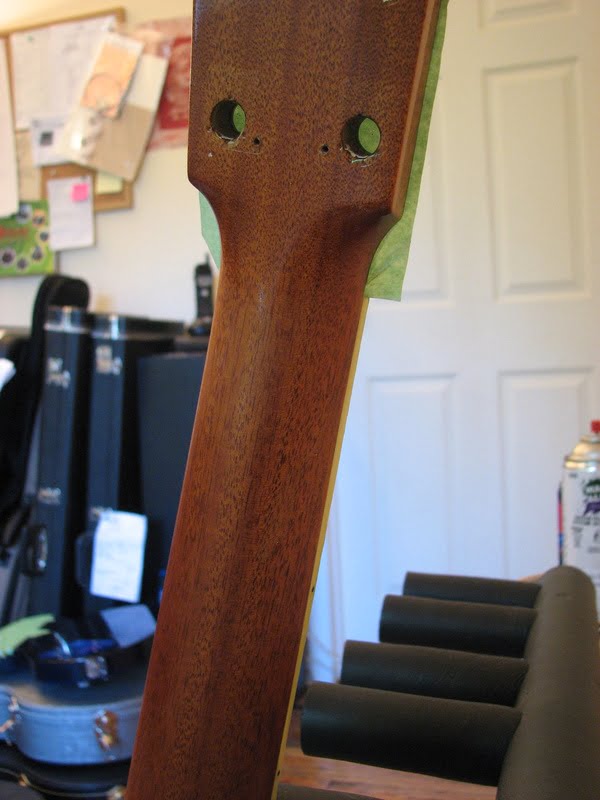
Unfortunately, I didn’t capture the clamps on camera, but I do have many other posts showing clamping methods. Once it was glued back together, I had it prepped for the finish touch-up. Clear coats and translucent finishes can pose a challenge at times. This one was no exception. Before any refinishing occurs, the repaired crack must be completely smooth to the touch. Any ridges or seams will be evident as the new finish settles/cures. The inconsistencies are sanded out, and at times, you may sand right through the old finish to eliminate any ridges (like I did in this case). Unfortunately, on clear finishes such as this, it can then becomes a colour-matching spot-finish endeavour. Good times. It’s either that or… you refinish the entire neck. That wasn’t on the agenda or in the budget, so…
The lacquer finish on this vintage beaut was very thin and minimal as it should be, but it didn’t take much to sand right through to bare wood, as you can see. Now before spraying any clear-coat, I’ve got to colour-match the shade of the exposed mahogany, or it will look patchy. There’s a couple of ways you could go about that: a tinted lacquer, or a stain. I chose the stain, as it gave me more control not only in spot-finishing but also in the shade.
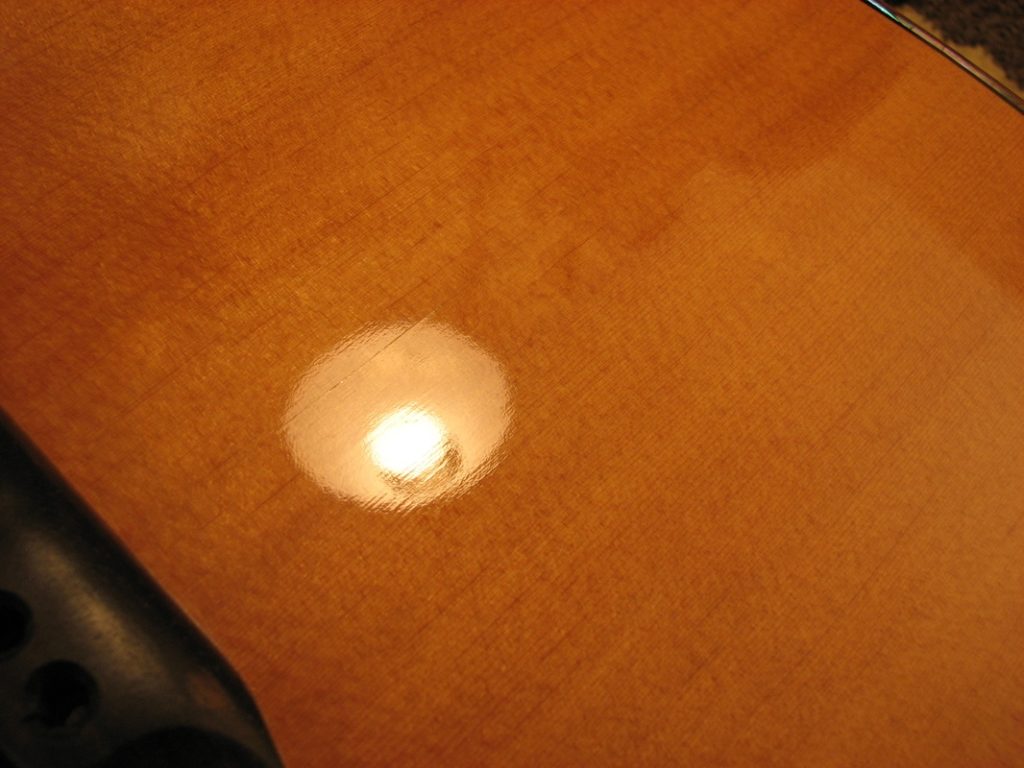
After applying some stain, I followed through with a sealer then built up some clear coats. Lacquer is absolutely wonderful to work within touchups. It blends together and applies seamlessly.
The split top was simply brought together with proper hydration and then glued with cleating. The bridge was reset and glued, along with some lifting headstock inlay. A supplied nut was installed, and the guitar was restrung and setup. These guitars sound fantastic. If you ever come across one – snap it up!
Learn all about headstock and finish repairs in our upcoming articles, classes, and books. Post your questions below!








Great content! Super high-quality! Keep it up! 🙂