The Guitar
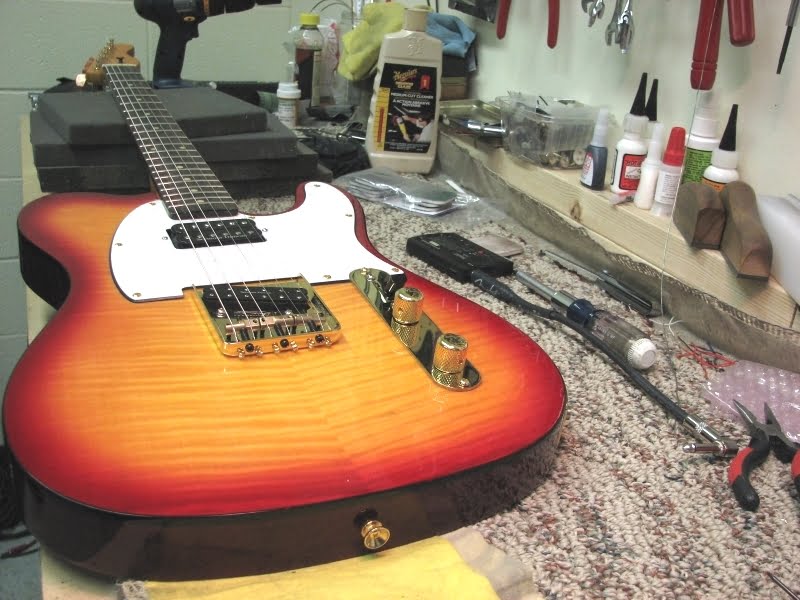
This guitar was brought to me in 20 pieces, a project guitar with all the parts sourced out from completely different places. A lot of the parts didn’t fit- they required custom installation. Thankfully, my background is in building and assembling guitars, so I know exactly what to look for. There’s a lot of things to consider when sourcing out parts for a project guitar, which I’ll cover in a later post. When doing so, make sure they will fit, or you’ll waste a lot of time, money and have one hell of a headache.
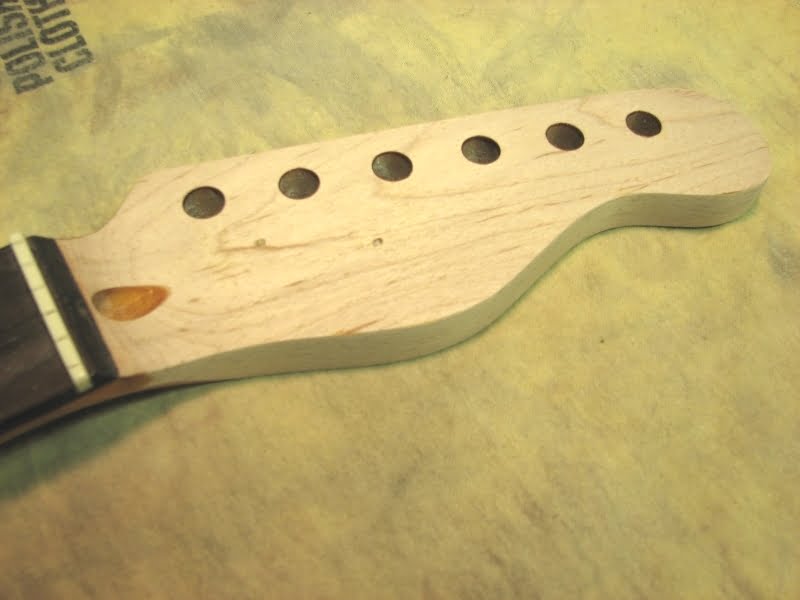
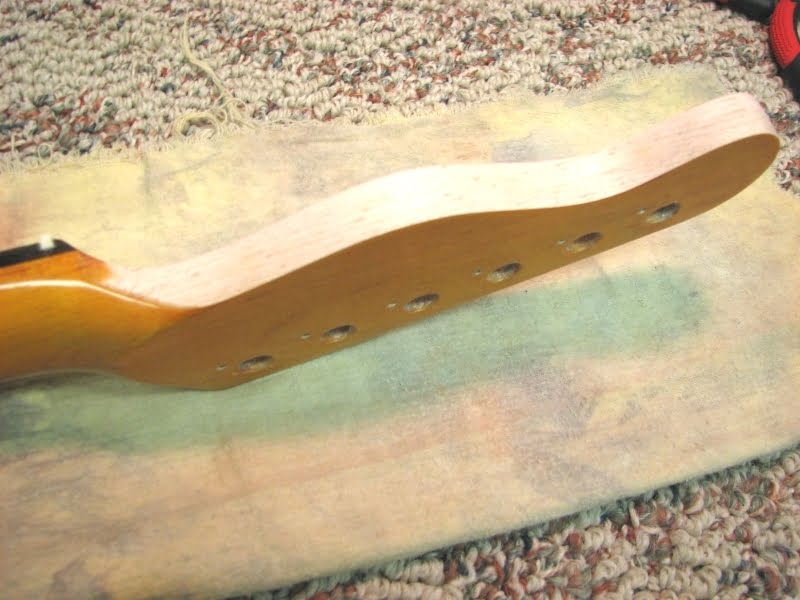
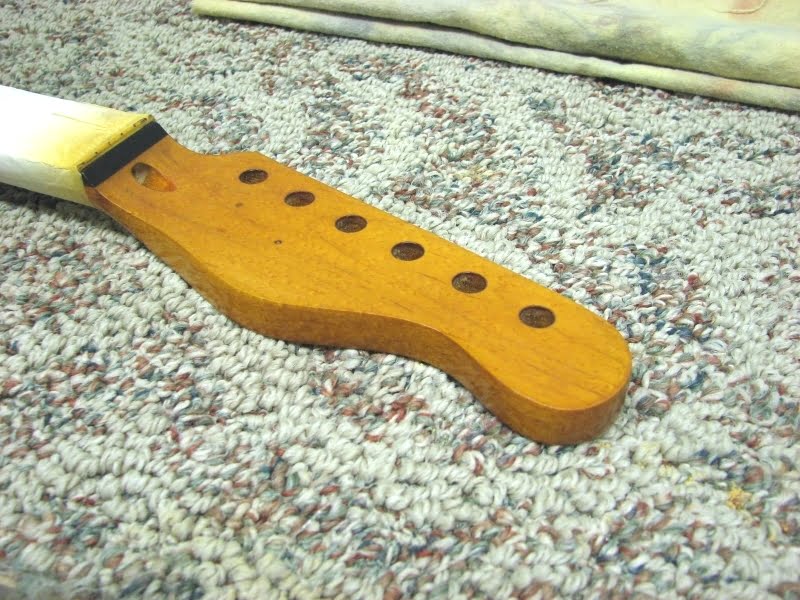
So, I had all the parts, or at least most of them. The only real problem was, the owner sanded the headstock finish completely off- not only on the headstock face but the sides as well… oh, and he wanted that “undone”.
The Job
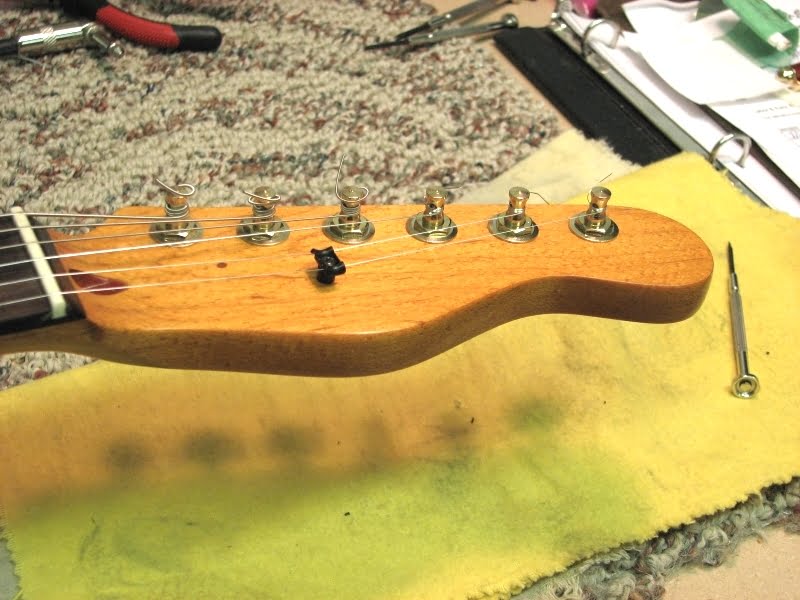
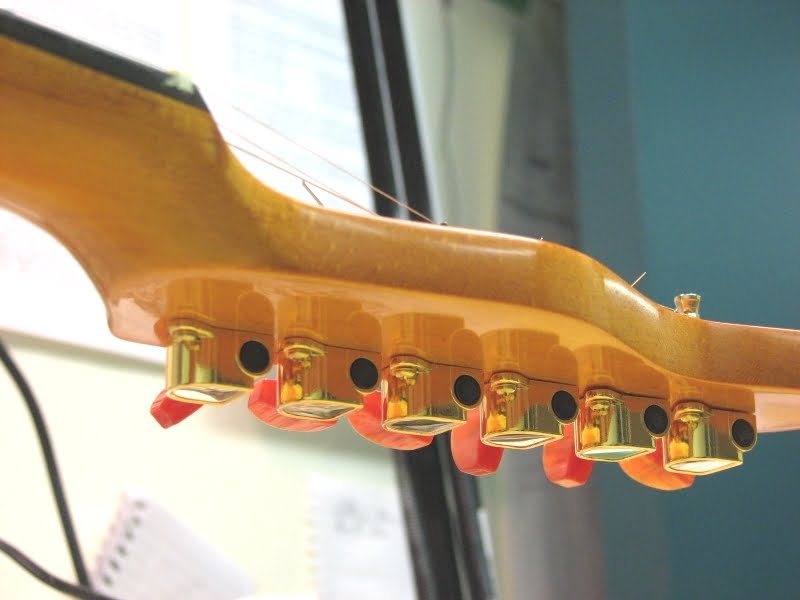
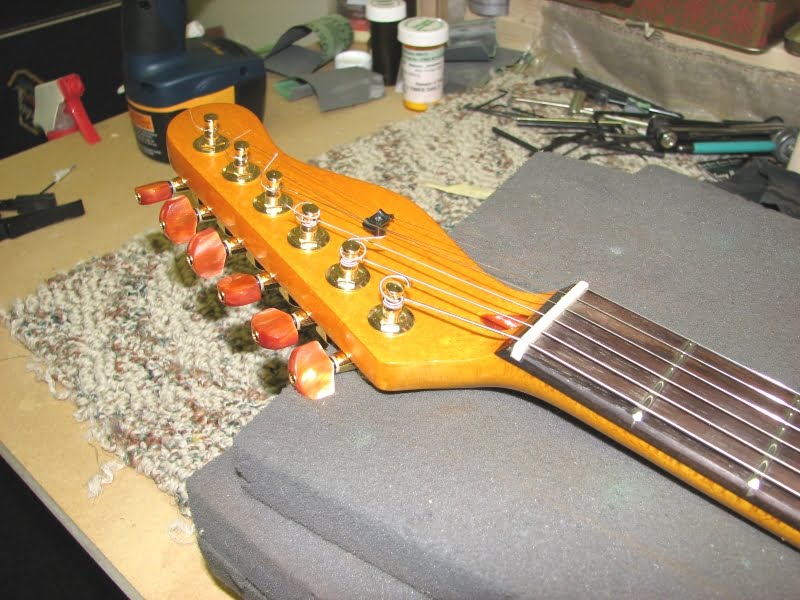
My mission, should I choose to accept it, is to refinish the areas that have been sanded off, and on the cheap (isn’t that always the way?). A refin job of any magnitude is never “cheap,” but it just so happens, I have a few tricks up my sleeve.
See, it’s quite tricky to find and blend shades so it appears flawless. The original finish was thick (poly-finish), and the tint was a dark amber shade.
I don’t recommend anyone touching up a poly-finish. It just can turn in to a nightmare. Unlike lacquer, which is very user-friendly, urethane finishes don’t touch-up well in my experience. The method that proved most efficient was to use an amber toner to tint the wood and several clear coats over top.
The Process
Shades like this will normally require a few passes of the sprayer until the tint is right. One coat after the other, the tint becomes darker. This is one way you control the shading. With any touch-up, it’s important to find the right shade before starting. You can always test it on some scrap wood, which I highly recommend. For example, did you know how many different shades of black there are? Some have hues of purple, or blue, etc. It becomes painfully obvious how close, or how far the tint is to the original colour once you’ve started. And that’s on new-ish guitars. With old guitars, you will need to factor in ageing. Some finishes will fade and lose colour over time.
After each coat of tint, it should be allowed to dry. When you are just starting out and learning about refinishing, allow the extra dry time and apply the next coat with confidence. Always apply a light mist while building up to the shade. A touch-up such as this one can easily become ruined with one too many coats or too heavy a coat.
Once the tint is right and fully dry, then proceeded with the clear topcoats. Here, you will generally want 6-8 topcoats for a nice gloss finish.
Once cured, any imperfections will be sanded out with a high-grit finishing paper (1000 grit) and then buffed out to a high-gloss. I will post an article about lacquer and refinishing in the coming weeks.
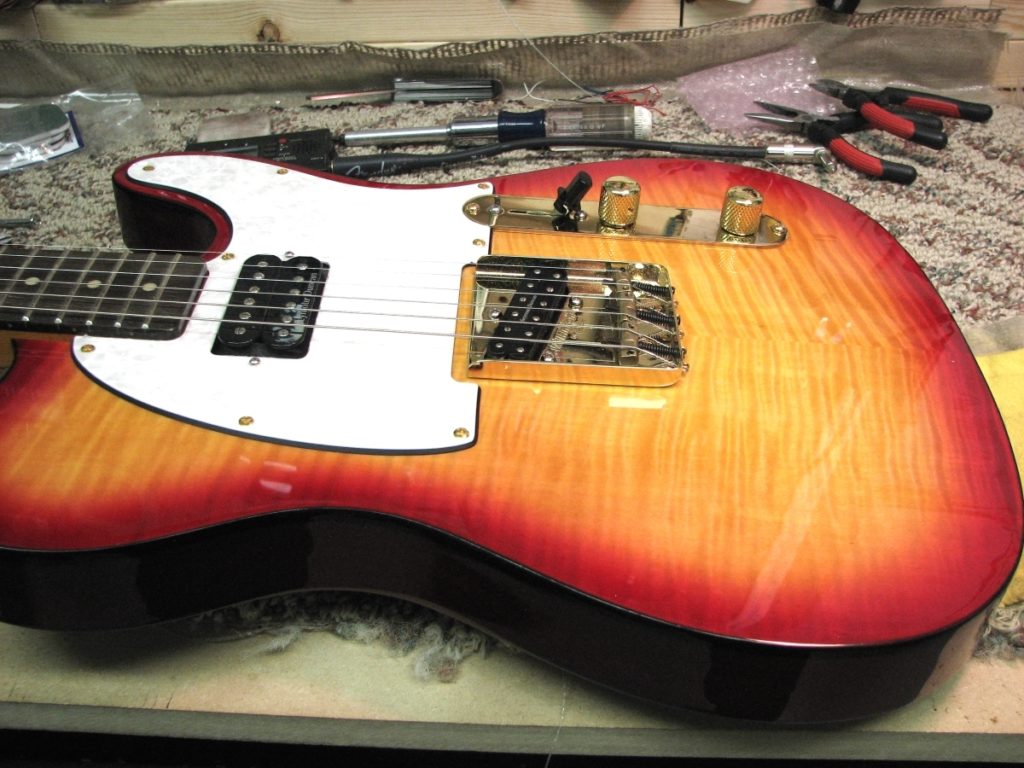
I must say it was a beautiful project guitar at the final assembly, a nice-looking flame on that sunburst top. Seymour Duncan Jazz at the neck, and a mini JB at the bridge, a great combo and it just cooks! Add a Wilkinson bridge with compensated 3-barrel saddle and it’s ready to go. What do you guys think? Post your questions below.

