If you missed it, you can read Part 1 here.
Refinishing
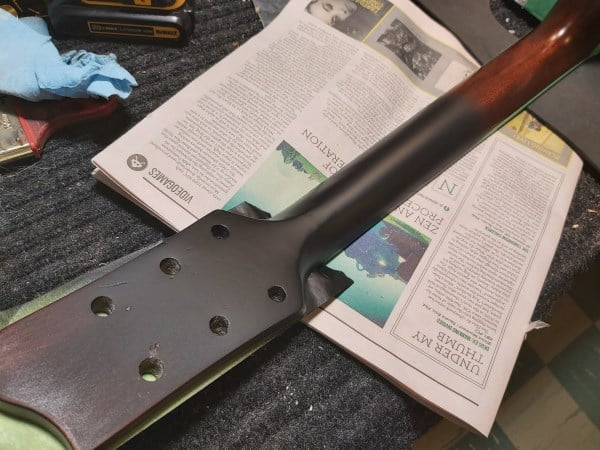
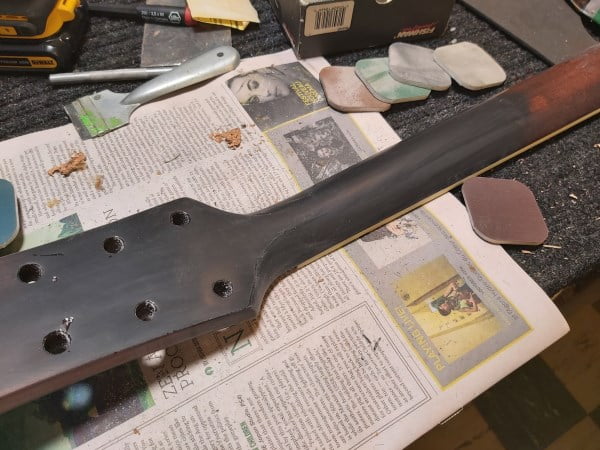
Once the neck has been sanded down with a 220-grit abrasive, it’s time for refinishing. But not before masking off the guitar including the fretboard, headstock and binding. I usually use newspaper to cover the entire instrument, taping it down securely. This avoids any over spray from coming into contact with the rest of the guitar.
Since the splines and the neck are different wood species, there is really no way to hide it. I could have searched high and low for the right piece of mahogany, planed it down to the correct width and matched the grain patterns, but it wasn’t feasible in this case. The best option is to cover up all these repairs using a black lacquer fade over the mahogany.
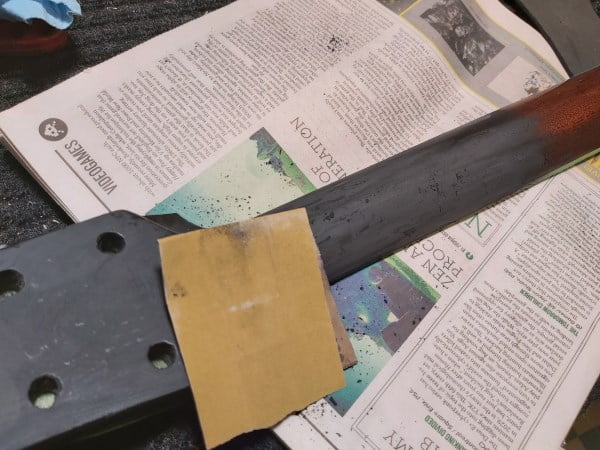
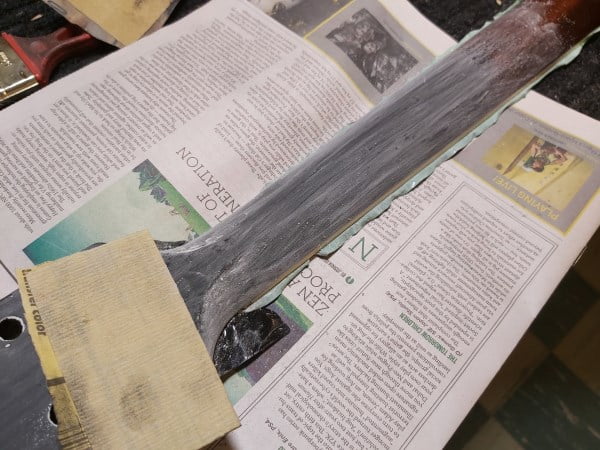
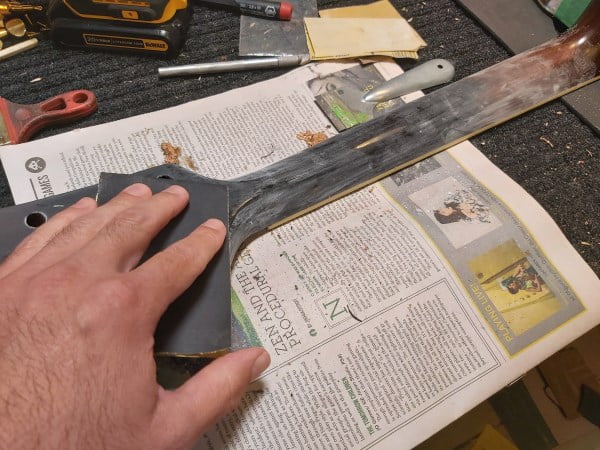
First, we will need to apply a few base coats of lacquer which will help fill and level out any open grain on the splines, as well as any scratches. After a few coats, sand out the imperfections. If it needs more, repeat. When refinishing an entire neck, you would fill the open grain and apply a few sealing coats of lacquer or sanding sealer to the entire neck before doing colour. The imperfections become obvious when sanding. The better it looks, the better your final results will be, so it’s worth taking the extra time when it’s needed.
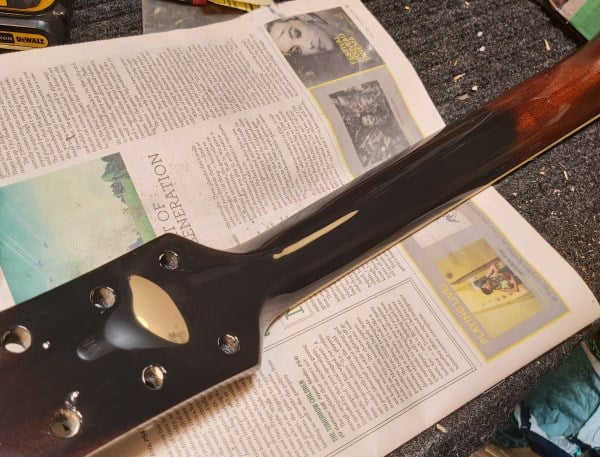
Once a few base coats are done, apply the colour coats. Repeat with sanding if necessary and remove any further imperfections and re-spray as needed. As you can see, I still had a few marks and dings but felt the clear coats would take care of most of them. Wipe away the mess with a cloth and a shot of naphtha (to remove the dust). Use a tack cloth over the neck to further remove any fine dust. This is pretty much the process here on out…
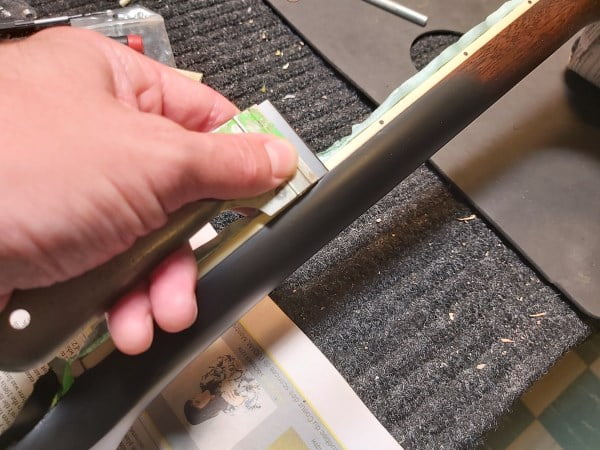
Once the colour is finished, remove the masking around the binding and scrape away any excess paint so that the lines are distinct and sharp. It’s a good time to change over all the masking tape just to avoid getting any lacquer in places you don’t want it.
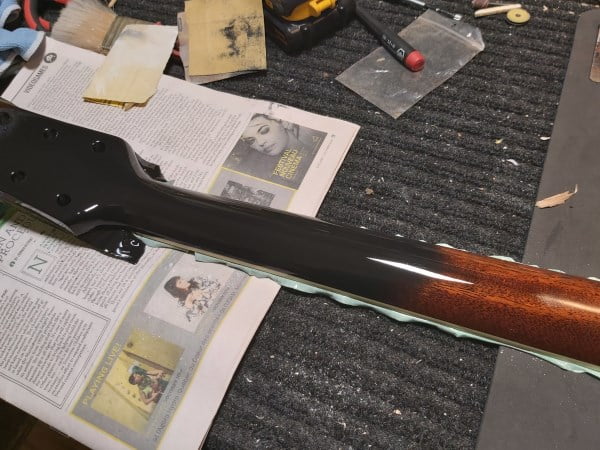
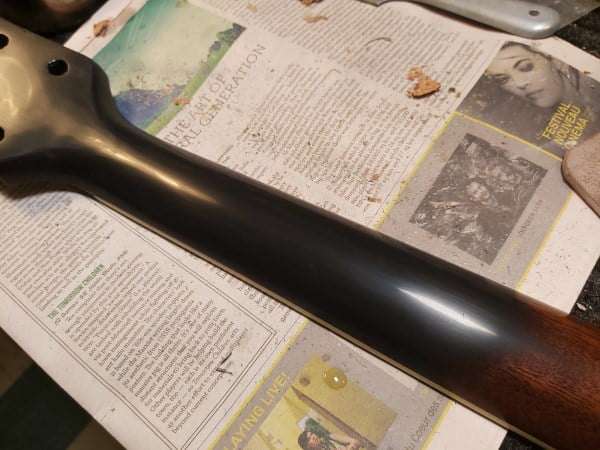
Apply the clear coat, approximately 6-10 coats. Sanding every few or so. When finished, leave the guitar for at least a few days before buffing (longer the better, depending on the type of finish used).
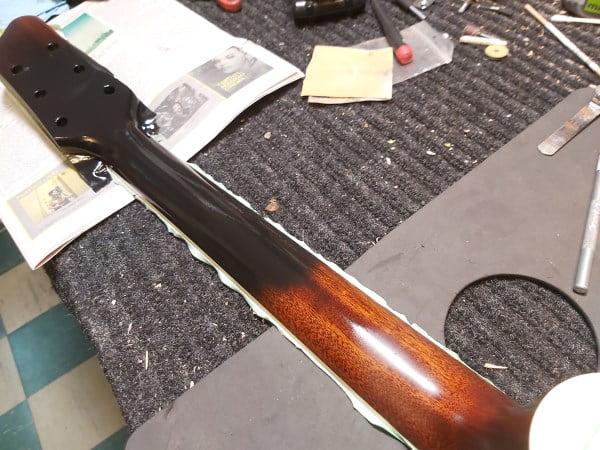
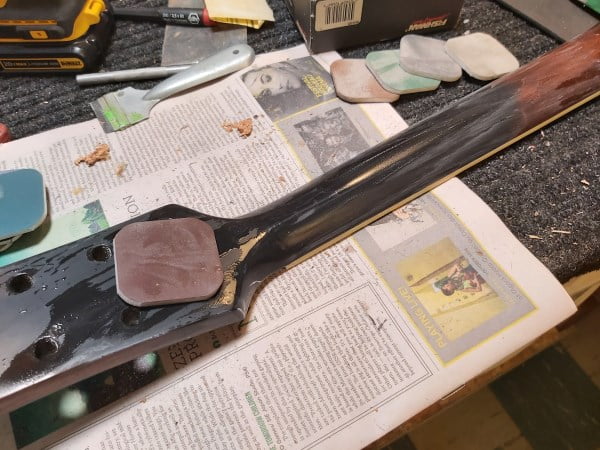
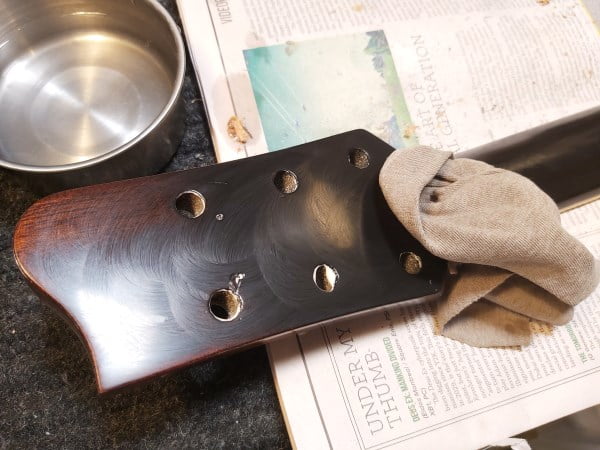
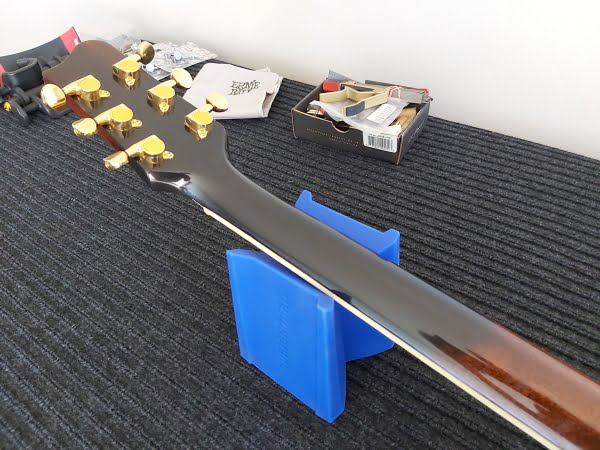
The next few images detail the process of spraying clear coat, followed with sanding – which I did 3 times over. When I was happy with the top coat, I polished it out to a fine sheen.
When polishing by hand, I start with 600-grit sandpaper and work up to around 1200-grit before moving over to micromesh pads (1500-12000-grits). You can use a little water with the pads to minimize friction (a.k.a. wet-sanding) and bring the finish to a high gloss.
To wrap it up, you can use a polishing compound to remove any swirl marks or fine scratches so that your refinish really pops!
Questions? Post them below!
You can learn how to do repairs like this yourself with the proper education and information. Learn all about headstock and finish repairs in our upcoming articles, classes, and books.

