- Home
- /
- Articles
- /
- Electronic Repair
- /
- How to Shield a...
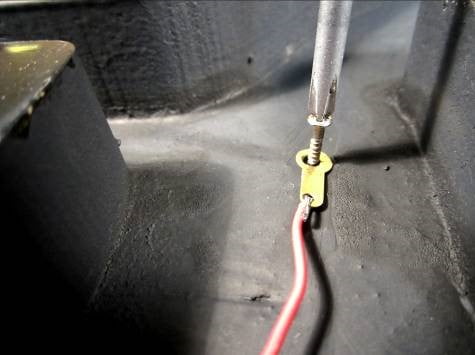
Shielding helps prevent any unwanted noise like hum and RF frequency coming through the signal of your guitar, most notably with single coil pickups. The idea with shielding is to enclose the electronics within a protective barrier that will repel radio frequency interference. You can use shielding paint or, more effectively, copper tape in the pickup and control cavities of the guitar. Additional steps can be taken as well, going to the extent of shielding every run of wire and cavity. Whatever way you choose, the shielding, once applied, must be in contact with the ground. A common method when using paint is to solder a ground wire from one of the pots to a solder lug washer (or terminal lug) and then screw the lug into the cavity wall.
Shielding Paint
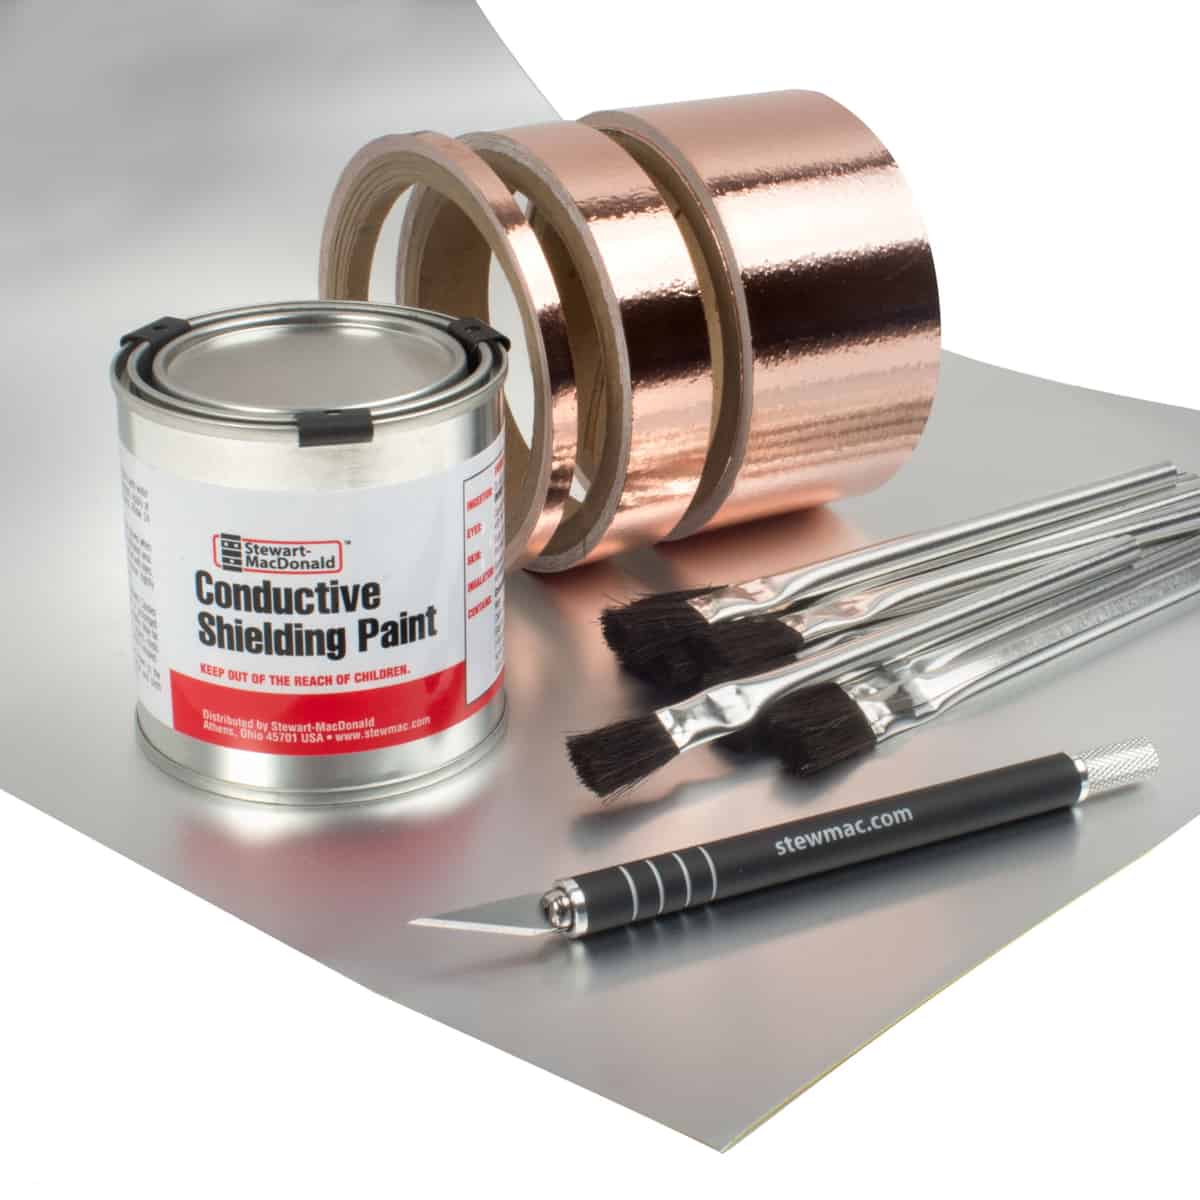
If you opt for using shielding paint, keep in mind that a minimum of 3 coats is recommended to be effective (in most cases). Choose brushes that are small and normally used for art/detail work (you will need more than one brush for the job). Before painting, remove all components and clean out any loose debris. You can remove dust by using compressed air, or a rag with a little naphtha (lighter fluid). When the cavity is clean and dry, apply a liberal coat of shielding paint to the exposed wood surfaces. Be careful not to spill any on the guitar finish. If you have any accidents, some naphtha on a paper towel should remove the spill while it is still wet and without any concern. Allow the paint to dry (usually a day) and reapply as per the manufacturer’s instructions.
Copper Tape
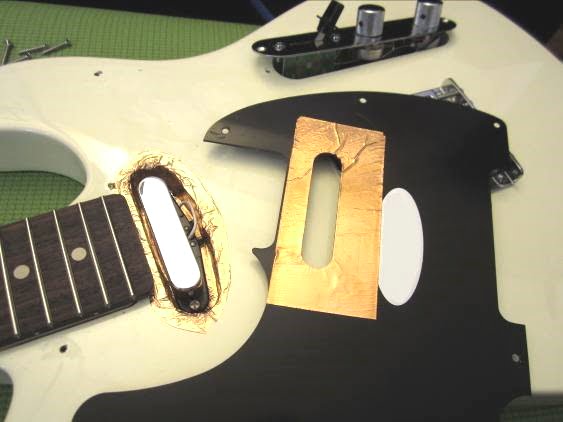
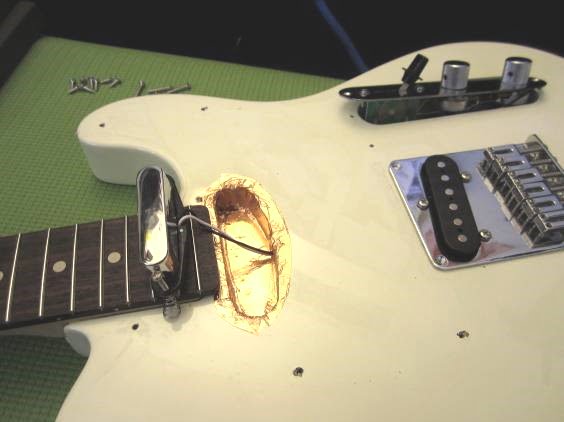
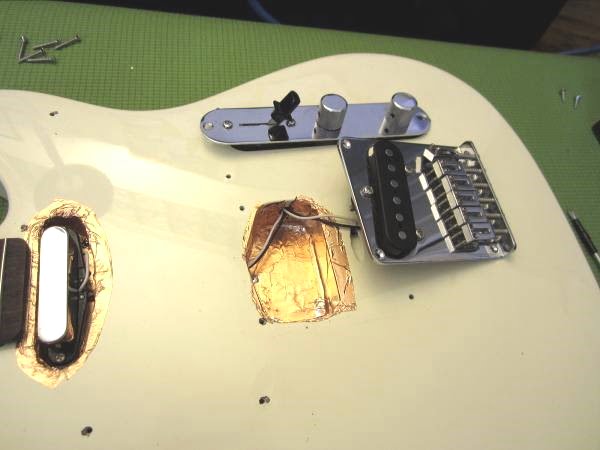
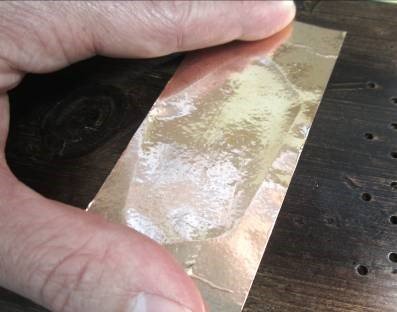
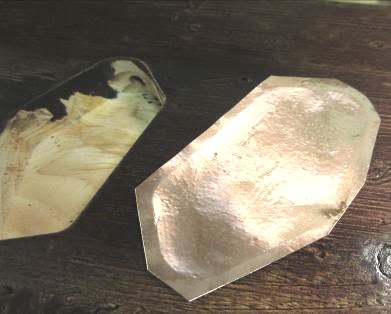
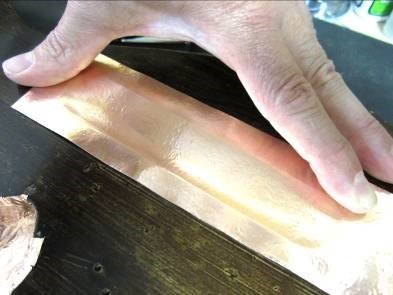
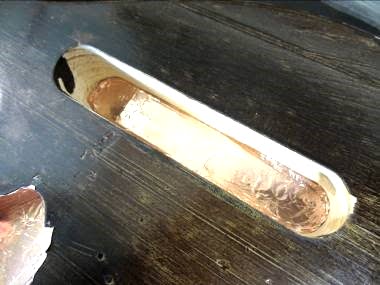
Using copper tape is more work, but it may be more effective in preventing RF interference. Before starting, blow out any dust and wipe down thoroughly with a rag. You will need to cut out strips of copper tape to fit into each of the cavities. You will need enough to apply to the bottom of the cavity, with the excess going to the side walls. One way to measure it is to lay the foil over the cavity and trace around it lightly with your finger, creating an indent on the foil (pictured below). Add another 1/4″ around the crease, and cut out. Another strip should be applied to the sidewalls, with some slight excess folded over the top of the cavity to mate with a control plate or pickguard. If your guitar has a pickguard, like a Strat-style, the underside of the pickguard should be taped as well, to enclose the electronic cavity. The excess tape that was folded over the top of the cavity should then mate with the underside of the pickguard, creating a full enclosure. Make sure that all strips of foil overlap each other.
The final step is to solder all the foil overlaps together, ensuring ground continuity. You may solder the ground wire directly to the tape, or ensure that the casing of a volume or tone pot is making contact with it.
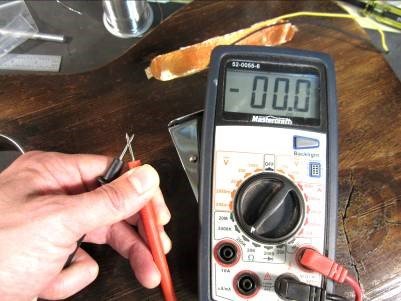
To check continuity, choose the ohm setting on your multi-meter. Place one probe on the ground, and touch all the areas of the foil which overlap and mate with each other. Your results should read infinity, as pictured.

